MyBeanfield Portal User Guide
Explore the new and improved MyBeanfield Portal with our detailed user guide.
Click below for tailored instructions:
Contact Management
Add Additional Contacts to your Account
-
-
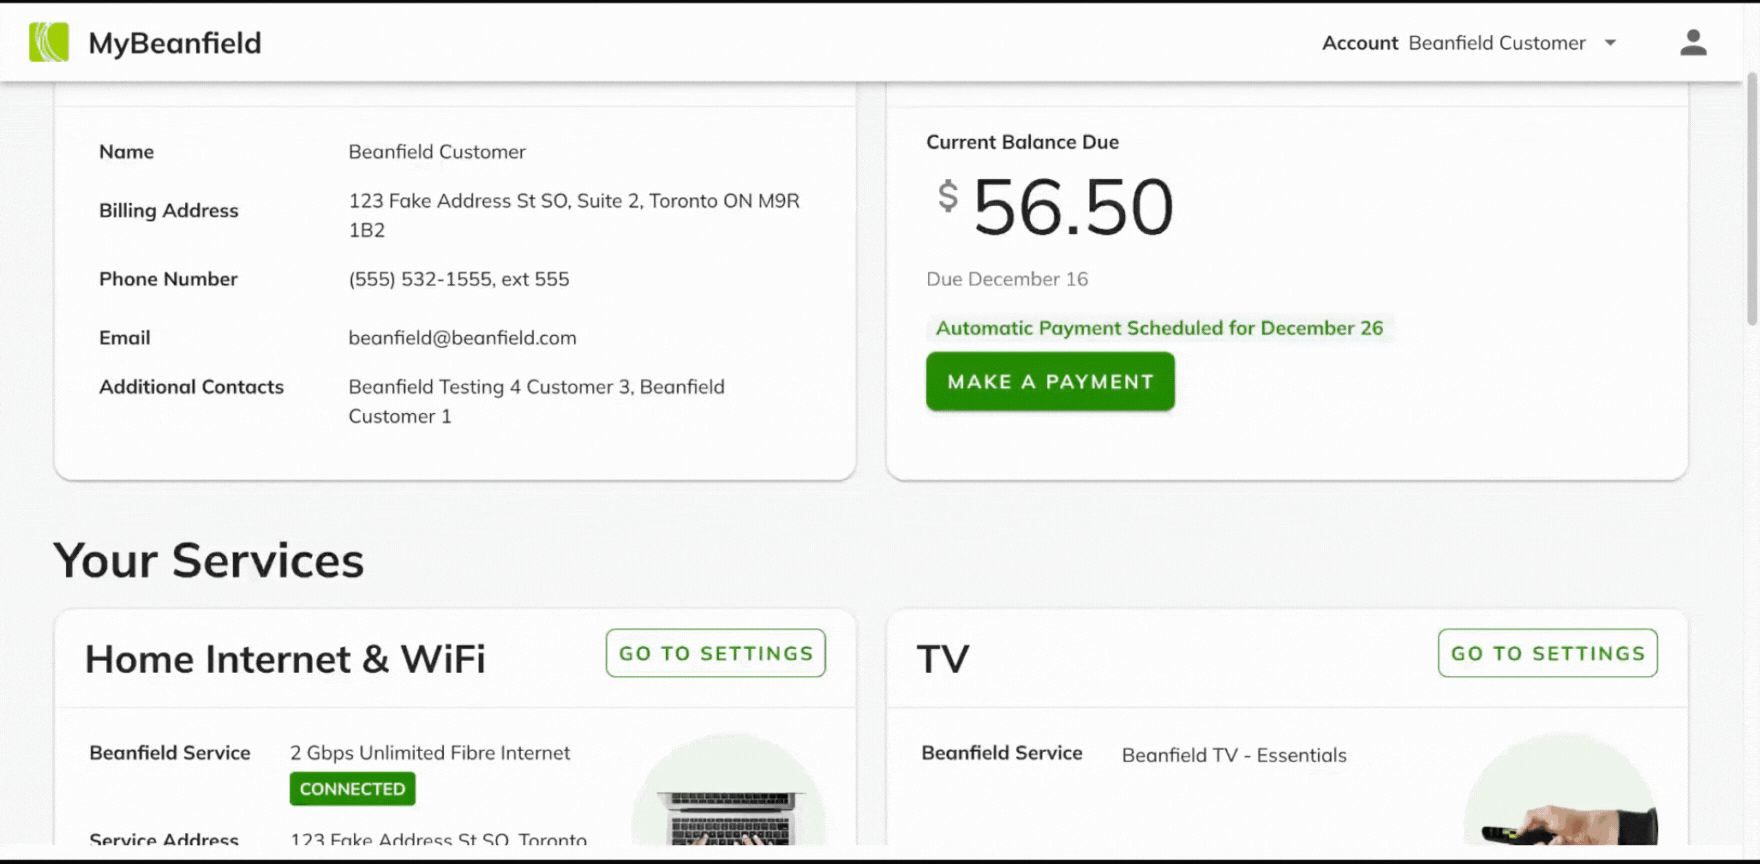
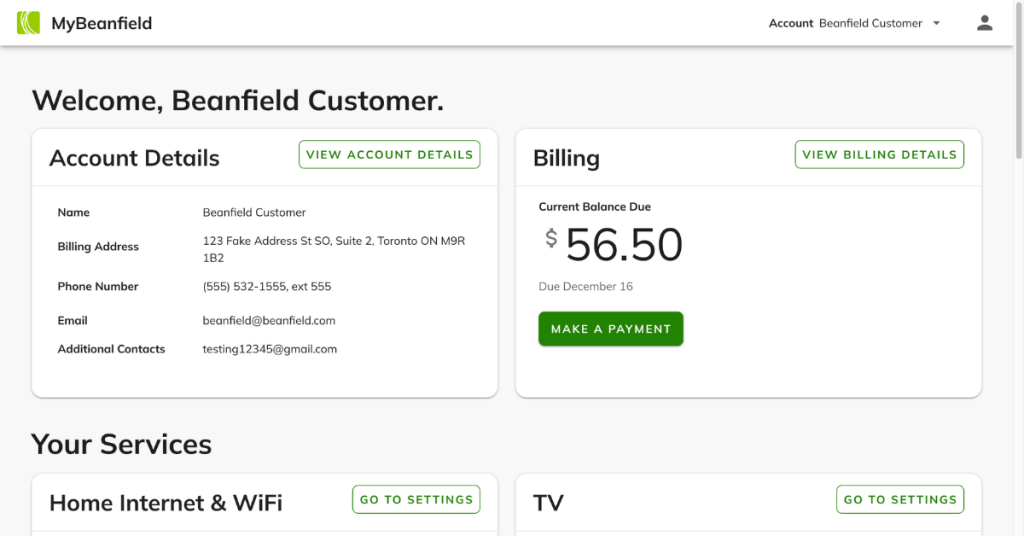
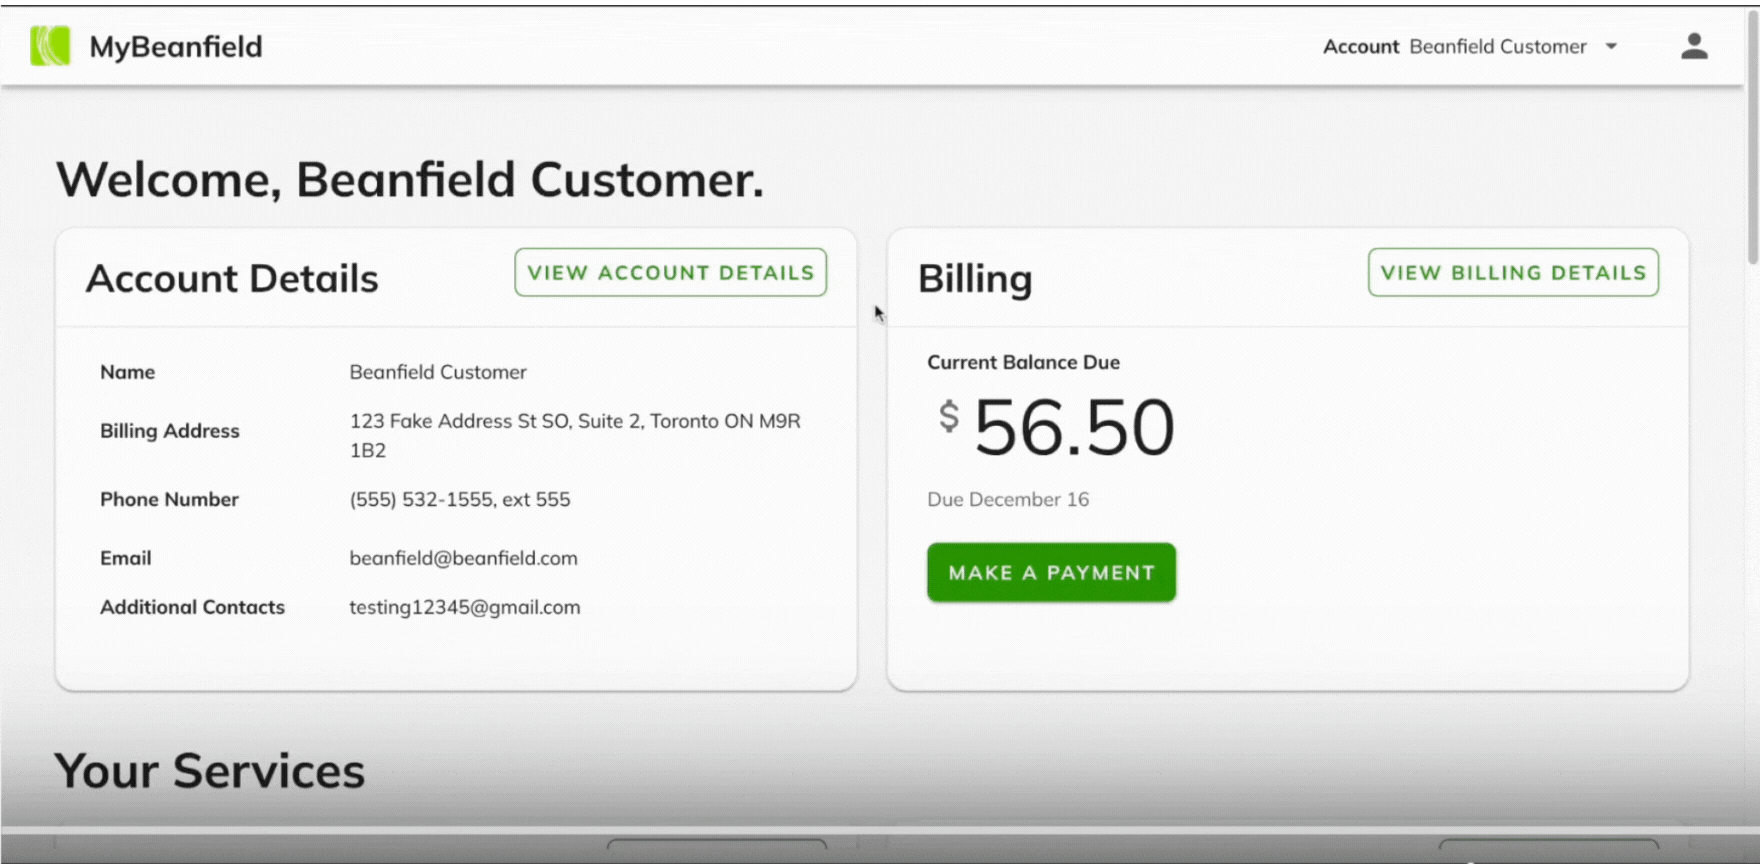
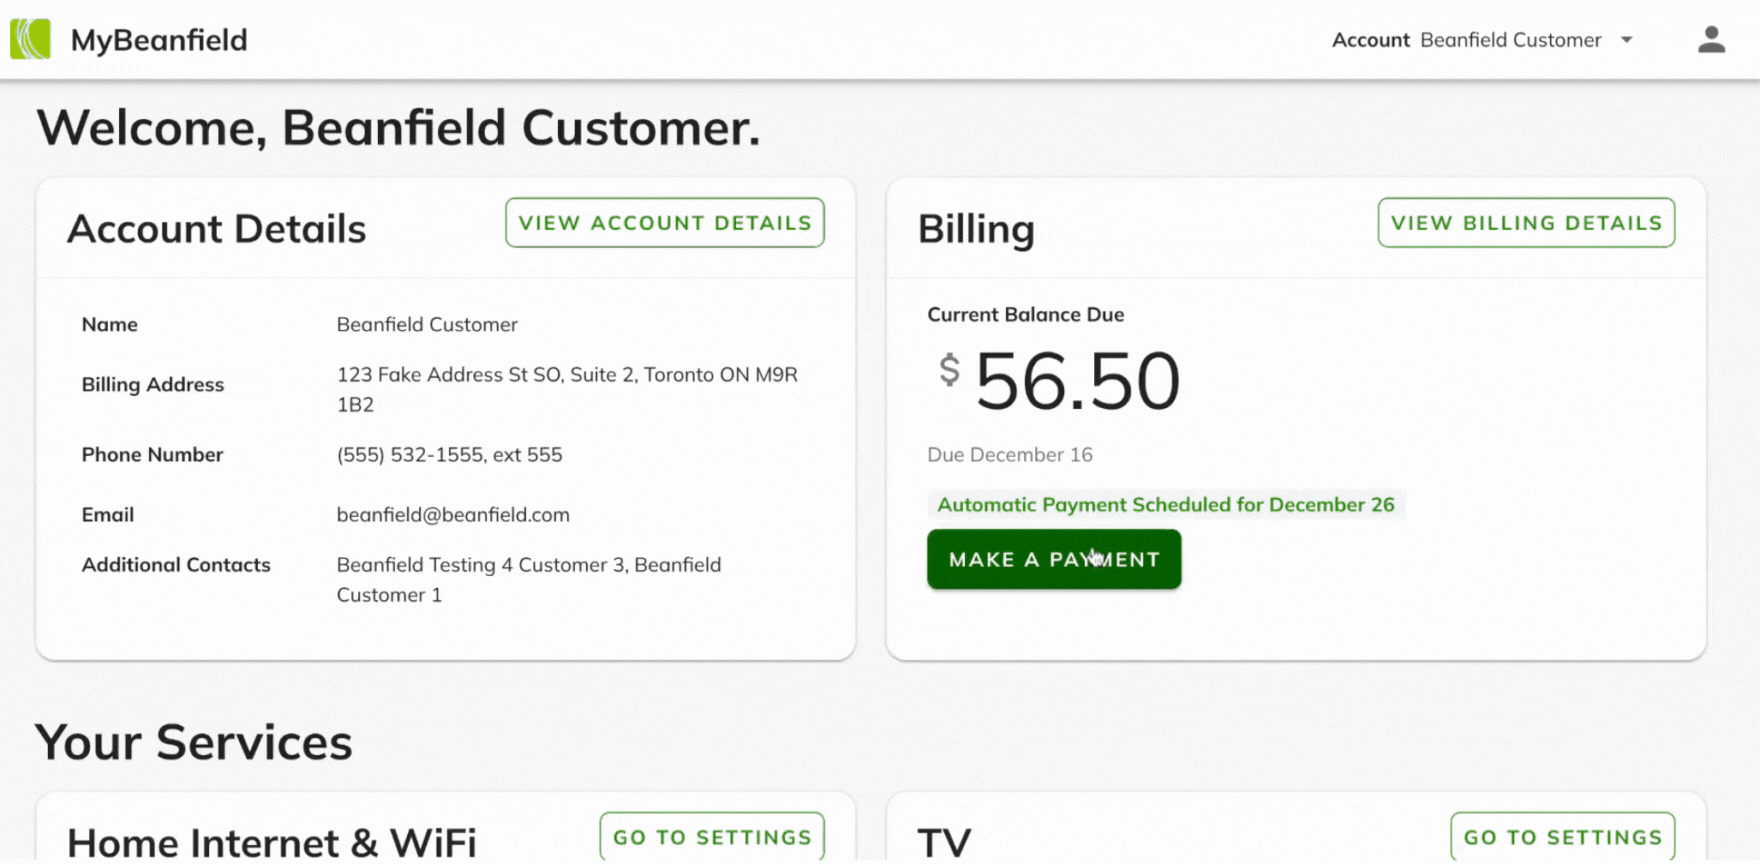
- Navigate to the “Account Details” card on the Portal Homepage
- Click on View Account Details
- Scroll down to the “Additional Contacts” section and click Add Contact
- Type in the new contact’s email address in the email field
- You can select the checkbox depending on how much access you want to give them. If you don’t select the checkbox, the contact will only get support and notify permissions
- Click Add Contact to save contact. The contact will receive an account activation email
-
Invoice Management
Make One-Time Payment
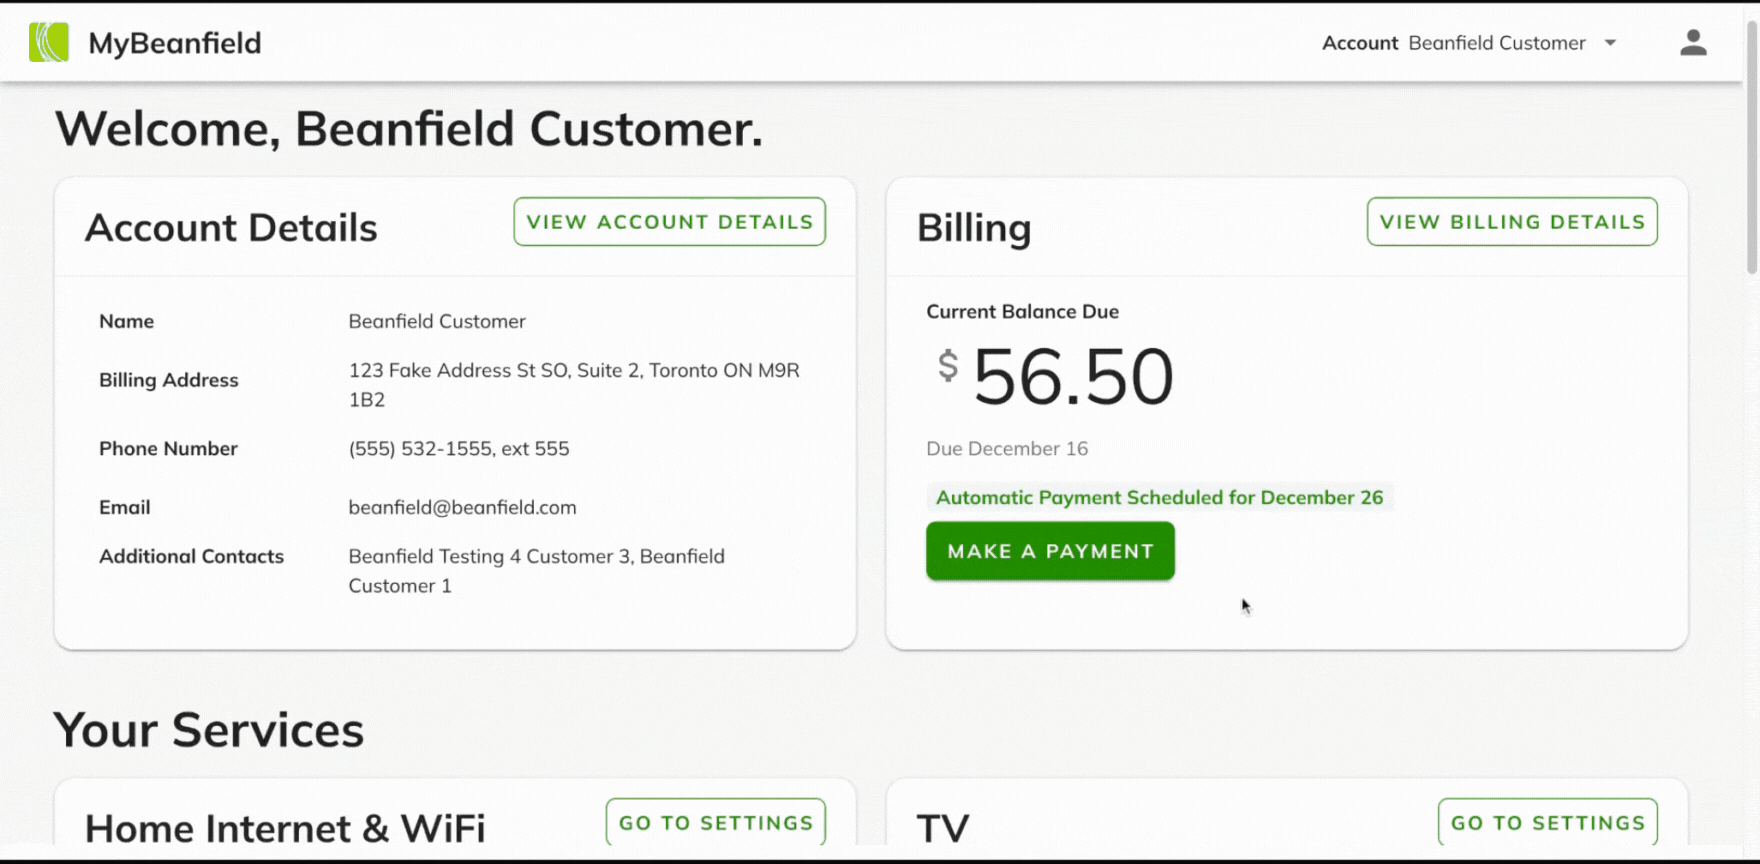
- Navigate to the “Billing” card on the Portal Homepage
- Click Make a Payment
For One-Time Payment with Credit Card:
-
- Select the Pay with a Credit Card radio button and click Next
- To pay the current balance, the Pay Current Balance radio button is pre-selected
- To pay another amount, click on the Other Amount radio button and enter the amount you wish to pay
- Fill in your credit card details and billing address details
- Select Make Payment button to make your payment
- Select the Pay with a Credit Card radio button and click Next
For One-Time Payment through Your Bank:
- Select Pay through your bank radio button and click Next to go to the next step
- Read the instructions listed
- Click Copy Account Number to copy your account number to your clipboard
- Select a Bank and click the Go to My Bank Website button
- Your bank website will open in a new tab. Follow the instructions provided earlier to make a payment
Setup Autopay
- Navigate to “Billing” card on the Portal Homepage
- Click on View Billing Details
- Scroll down to “Automatic Payments” section
- Click on Set Up Autopay to open the dialog box
- Enter your credit card details
- If your billing address is different from your service address, uncheck the box and provide your billing address details
- Click Save. You will see a green check mark next to your added credit card indicating successful setup

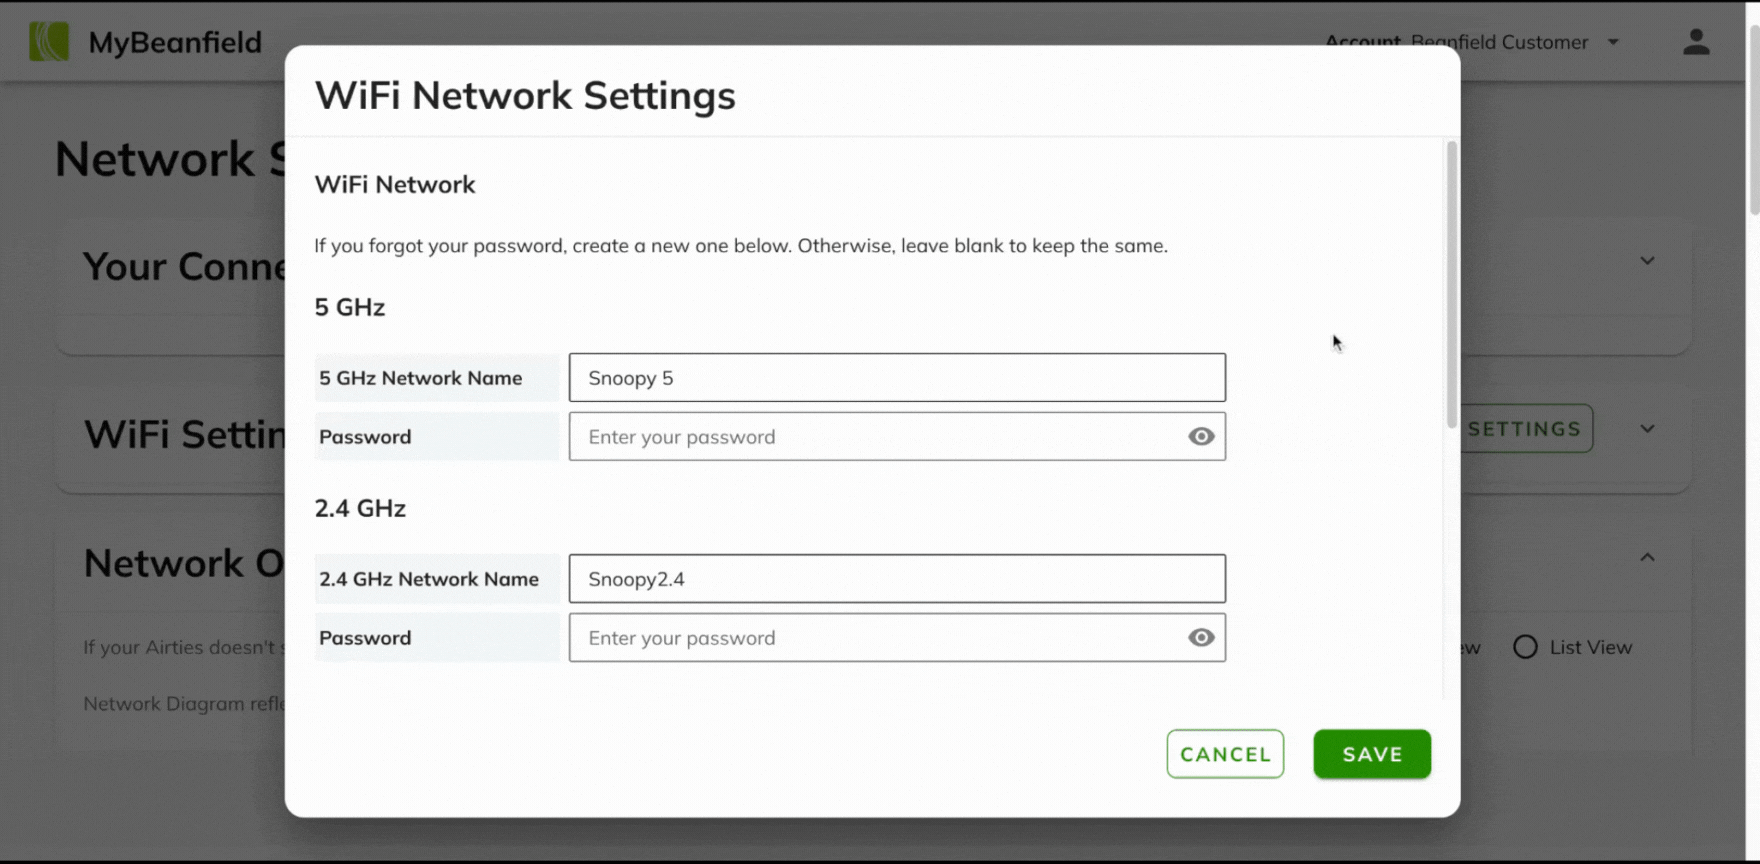
WiFi Settings Management
Edit Your WiFi Name and Password
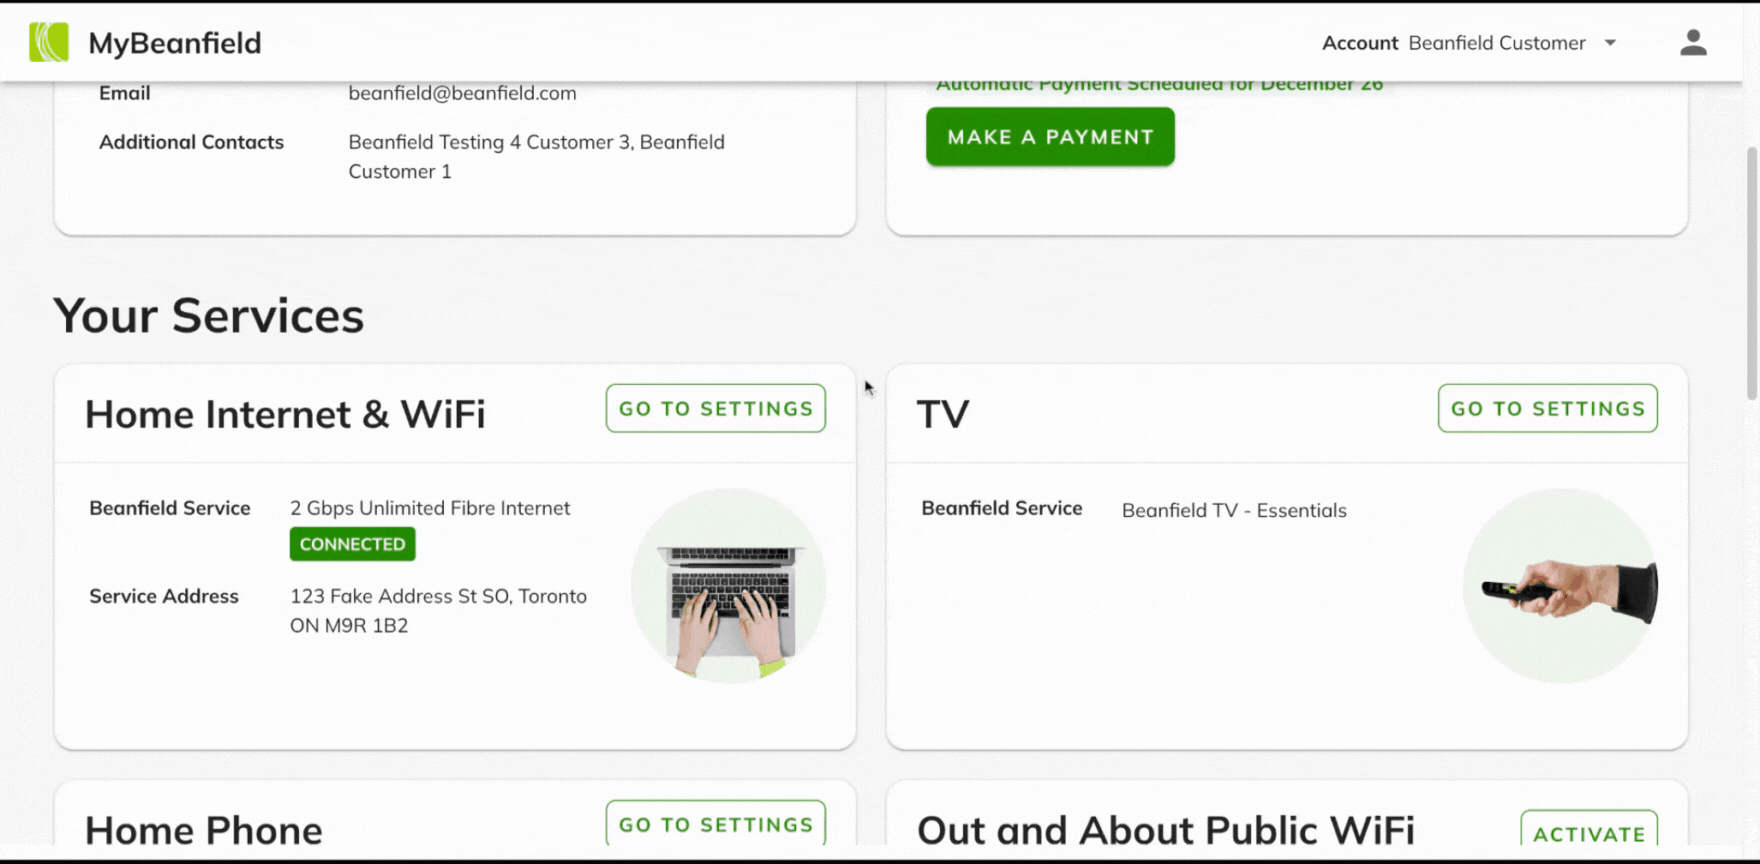
- Navigate to the “Home Internet & WiFi” card on the Portal Homepage
- Click Go To Settings to open the Network Settings page
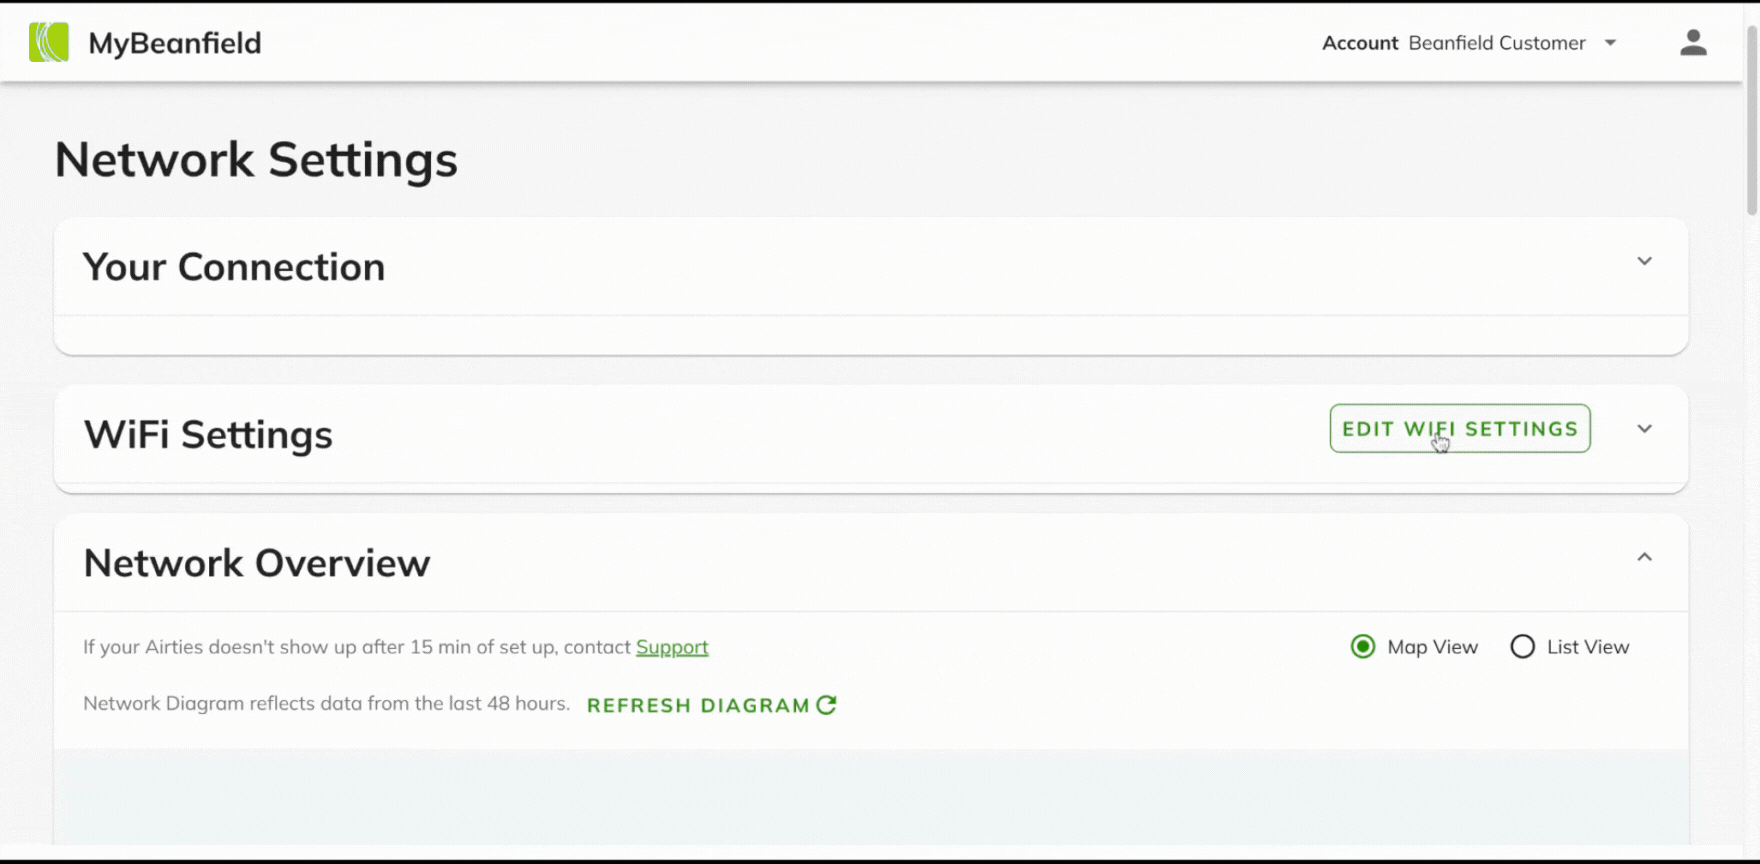
- Go to the “WiFi Settings” card and click Edit WiFi Settings to open the WiFi Settings dialog
- You can enter your new WiFi Network Name and Password
- Click the Save button to save your new settings
If you would like to separate your WiFi into 2.4 GHz and 5GHz networks, select the checkbox and enter your new WiFi Network Name and Password. To turn off this feature, simply uncheck the box.
Create a Separate WiFi Network for Friends & Family
- Within the “WiFi Network Settings” dialog box, select the Enable Guest Network checkbox
- Add a guest network name and password
- Hit Save to save your new settings
For advanced users, explore the Network Overview feature for a mapping of your routers and Airties setup.
Open a Support Ticket
Create and Submit a Support Ticket
- Navigate down to the “Need Assistance?” section
- Click on the Open New Ticket button to open the Support Issue Dialog
- Start by selecting the service affected that you wish to create a ticket for
- In the next field, describe the issue that you’re having in detail
- If you need to upload an attachment to help describe your issue, select on the Upload Attachment button
- In the next field, select your preferred method of contact
- Click on Report Issue to create your support ticket
- Once you click on Report Issue, you will see a dialog confirming your ticket was created with the Ticket ID